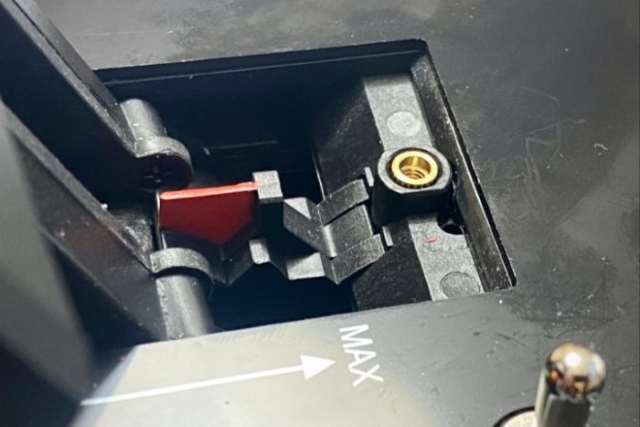
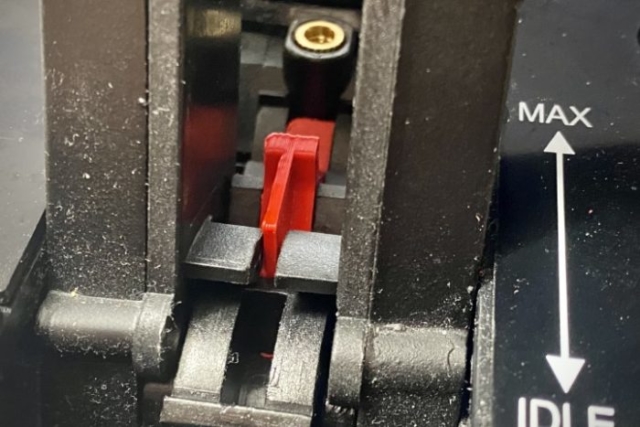
Thrustmaster HOTAS Warthog comes with factory afterburner detent. By default it is mounted in a non-active position, but it is very easy to turn it by 180 degrees and enjoy afterburner detent. However factory detent is sometimes difficult to operate, as both thrust levers needs to be moved up slightly to get over the detent. This is particularly difficult if your HOTAS throttle is not fixed to its stand / desk. In that case it happens very often that a whole HOTAS throttle box is jumping up when moving throttles over the factory detent.
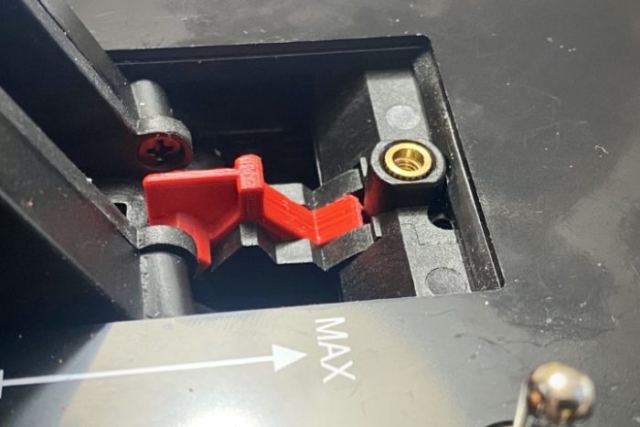
It would be much simpler to just push throttle levers over the afterburner detent (without rising them up) and this is exactly what my custom afterburner detent is doing – no need to rise the levers up while getting over the detent.
How does it work?
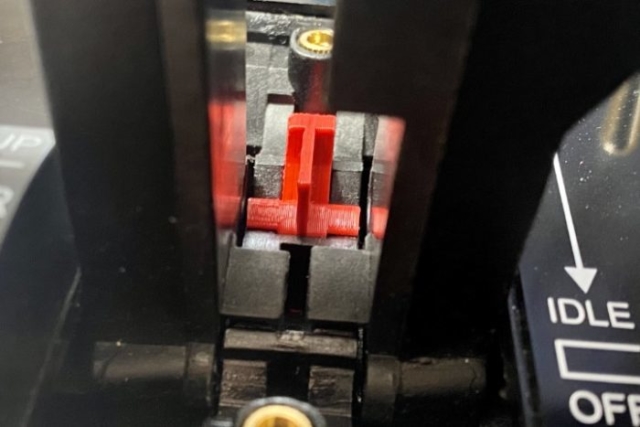
Instead of having to rise the throttle levers up over the factory detent, it is now enough to just push them forward, but still with tangible break on the way. Best is to just see it in action in this 1 minute video:
How to make one and install it?
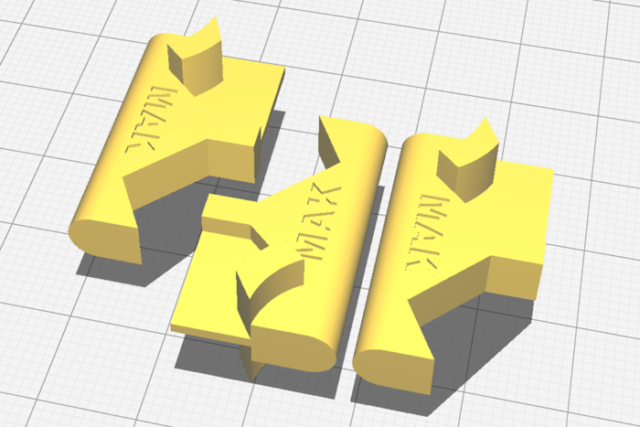
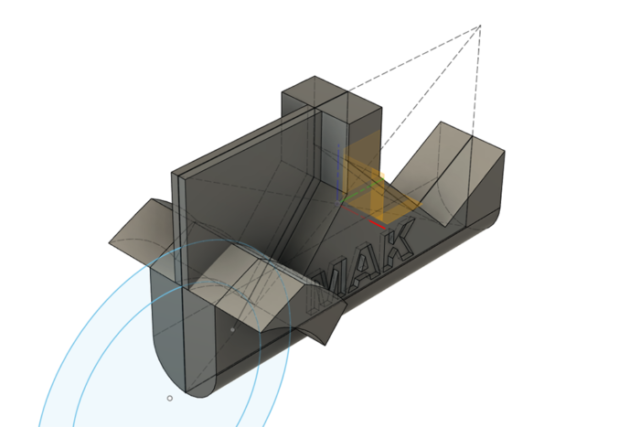
To make your own detent just download STL files and print them using your own 3D printer or order printouts via one of commercial 3D printing services. Installation takes few seconds, as shown on the above video.
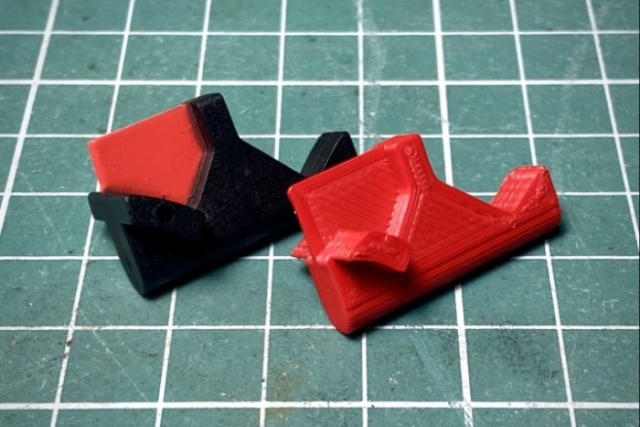
There are three different STL files, marked 15° / 20° / 25° where 15° corresponds to the slightest detent resistance and 25° is quite noticeable to pass through. Please print all three and choose one to your liking. I use 25° one.
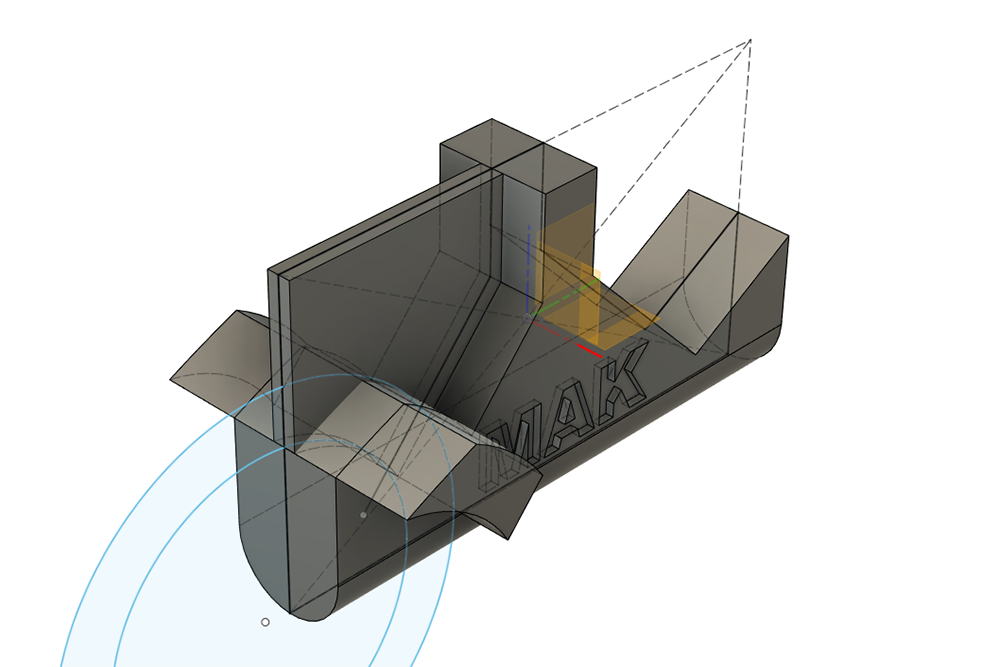
I suggest to print the detent solid or no less than 50% infill. Print it on a side, as shown on one of the above pictures, with supports. Standard PLA should be sufficient.
How to configure an afterburner detent in flight simulator?
Usually you don’t need to do anything. Afterburners are activated simply by moving the throttle after the detent. It is however just simple axis with defined axis point, recognised as an afterburner activation. If your simulator is activating afterburners before the detent or too late after it, you may need to apply a curve to adjust afterburners activation point on the axis.
Download
Free for non-commercial usage, available for download on Printables.
Inspiration
I got an idea to make printable custom detent while watching one of Ralfidude videos. If you are into DCS check his YT channel – for sure one of the best DCS related channels out there.
Ralfi simply sanded the factory detent. I didn’t want to grind the genuine part and thus this little project.
License

This work is licensed under a Creative Commons Attribution-NonCommercial-ShareAlike 4.0 International License.

Absolutly genious ! Thx a lot ????????????????